I’m Alex, a night-shift UX designer in Portland who bikes home at all hours. Safety is non-negotiable when riding after 10pm, but I hate when reflective gear makes me look like a construction worker or tactical cosplayer during daylight.
Over the past four months I tested several reflective modding methods on my Veilance jacket, Outlier pants, and backpack. The goal was maximum visibility at night with zero “look at me” energy during the day. Here’s what worked best while keeping the fit looking intentional and low-key.
Why Most Reflective Mods Fail the Aesthetic Test
Cheap 3M stickers, giant reflective panels, or full hi-vis strips scream costume. The trick is using small, strategic applications of high-quality reflective material that disappears in normal light but activates cleanly when hit by headlights.

My Cleanest Reflective Mod Techniques
1. Reflective Thread & Piping (Best Overall)
I replaced some existing seam stitching with high-quality reflective thread on high-movement areas (outer sleeves, jacket hem, side seams of pants).
It’s nearly invisible in daylight — just a slight sheen if you look very closely. At night, it creates clean lines that outline your silhouette without looking like safety gear. I did this on the bottom hem of my shell and the outer seams of my pants. Very clean result.
2. Hidden Reflective Panels Under Flaps
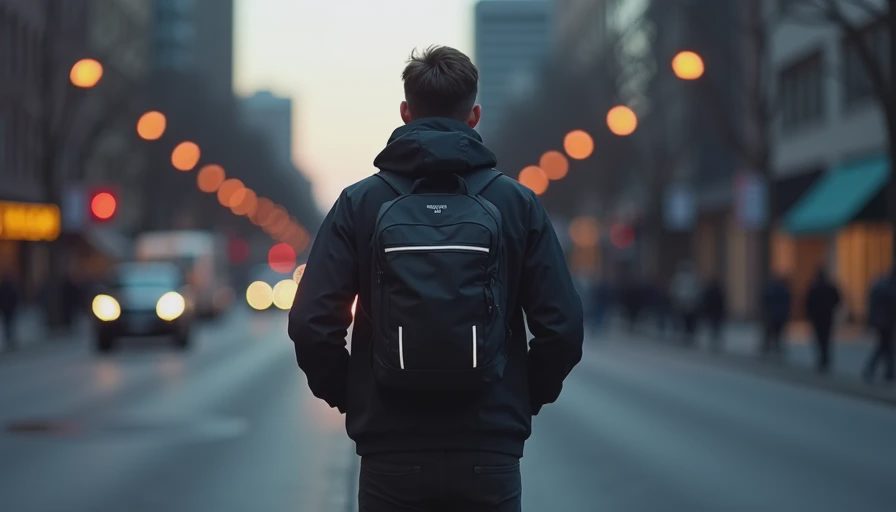
On my backpack, I added thin reflective strips under the flap edges and inside the side pockets. When the bag is closed, you see nothing. When I open a pocket or the flap moves while riding, the reflection activates. Extremely subtle.
3. Reflective Shoelaces + Small Hardware
Swapped my regular shoelaces for reflective ones and added tiny reflective dots on the back of my jacket collar and backpack sternum strap. These are so small they read as design details rather than safety mods.

Materials That Delivered the Best Results
3M Scotchlite Reflective Thread — Expensive but worth it for sewing applications.
Reflexite Microprismatic Tape (narrow 1/4" and 1/2" widths) — Better than old-school 3M for subtlety.
Reflective Heat Transfer Vinyl — Good for small logos or shapes if applied sparingly.
Avoid: Large premade reflective patches, full strips across the back, or anything hi-vis yellow/orange.
I applied everything with a mix of hand sewing and careful heat pressing, always reinforcing from the inside so the exterior stays smooth.

What I Learned About Placement
Strategic locations matter more than quantity:
Outer edges of sleeves and hem (creates natural silhouette outline)
Back of hood or collar (visible to cars behind you)
Lower back panel of backpack
Ankle area on pants (for cycling)
I kept total reflective surface area under 15 square inches across my entire fit. Less is definitely more.
The result: During the day, my setup looks like regular high-end techwear. At night, drivers notice me much earlier without me feeling like I’m wearing a costume.
Comparison of Reflective Mod Approaches
Method | Daytime Stealth | Night Visibility | Difficulty | Durability | Aesthetic Score |
|---|---|---|---|---|---|
Reflective Thread/Piping | Excellent | Very Good | Medium | High | 9.5/10 |
Hidden Tape Under Flaps | Outstanding | Good | Easy | High | 9/10 |
Large Reflective Patches | Poor | Excellent | Easy | Medium | 4/10 |
Full Hi-Vis Strips | Terrible | Excellent | Easy | High | 2/10 |
Reflective Hardware/Dots | Excellent | Good | Medium | Very High | 8.5/10 |
Final Tips for Clean Results
Match the base color as closely as possible (black on black, gray on gray).
Test in real lighting conditions before committing to permanent mods.
Prioritize areas that move naturally — movement makes reflective elements more noticeable to drivers.
Less is more. One well-placed detail beats multiple obvious ones.
This approach let me stay safe without compromising the low-key aesthetic I built my wardrobe around.
I have always believed that safety and style don’t have to be enemies.
— Alex (portland_nightshift)
No comments yet.